Pixel-perfect collisions on the PICO-8 using Minkowski differences
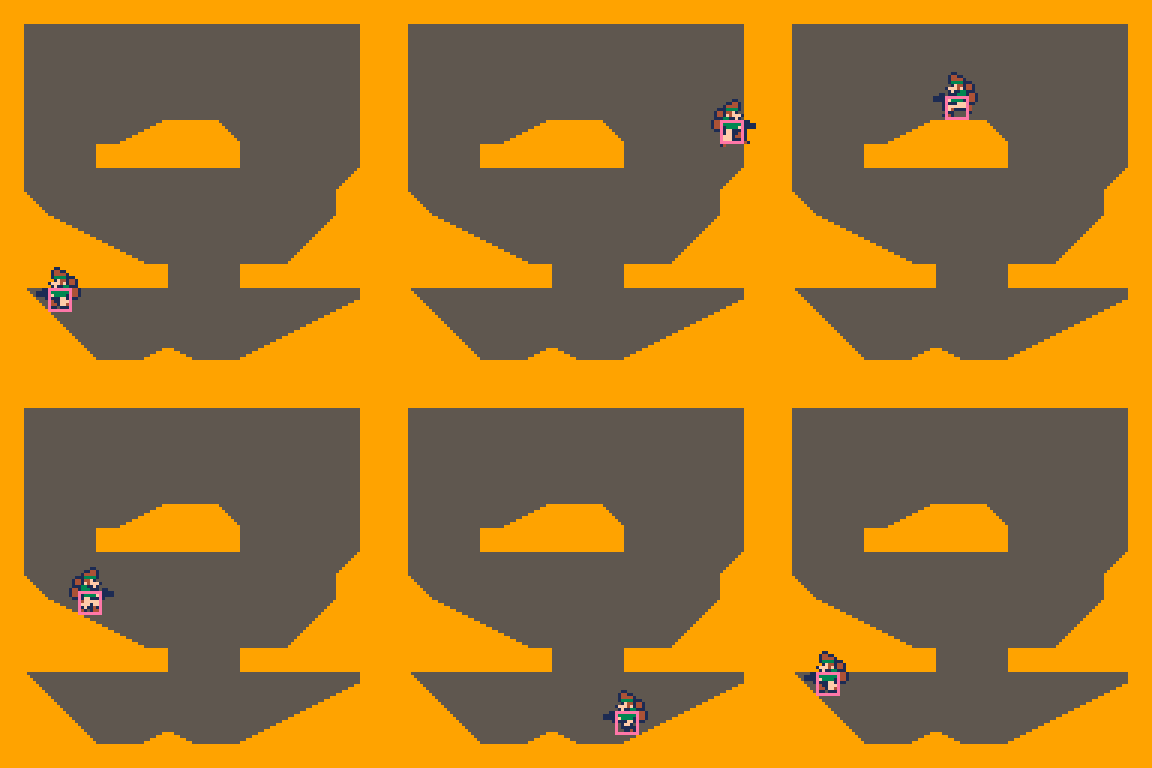
In this post I would like to briefly discuss a trick that I’ve so far found to be very helpful when rolling my own collision detection in games; pre-computing and storing the Minkowski difference of the player collider and the level geometry. It’s a technique that allows for continuous collision detection and doesn’t require much more than a working implementation of ray casting and a way to obtain the Minkowski difference. For this demo, I have replaced regular ray casting with Bresenham line algorithm and hand-drawn the Minkowski difference in the PICO-8 graphics memory as a way to achieve robust pixel-perfect collision detection suitable (maybe even a bit overkill) for a platformer game.

I first found out about this technique when watching a video by MattsRamblings that discusses the use of BSP trees in Quake. Shortly summarized, the level geometry is padded in such a way that regular ray casting becomes equivalent to sweeping the player bounding box through space, and the resulting intersection point is the first point at which the player collides with the level. It came as a real eye-opener to see ray casting being used this way, I had always assumed it’s primary application was for implementing hitscan weapons, visibility queries, and the like. Nevertheless, it’s very neat to be able to re-use the system again for player collisions like this. The technique is however not without trade-offs, as mentioned in the video, we have to store a separate version of the level geometry for every collider shape we intend to use, so that number needs to be bounded with appropriate game design.
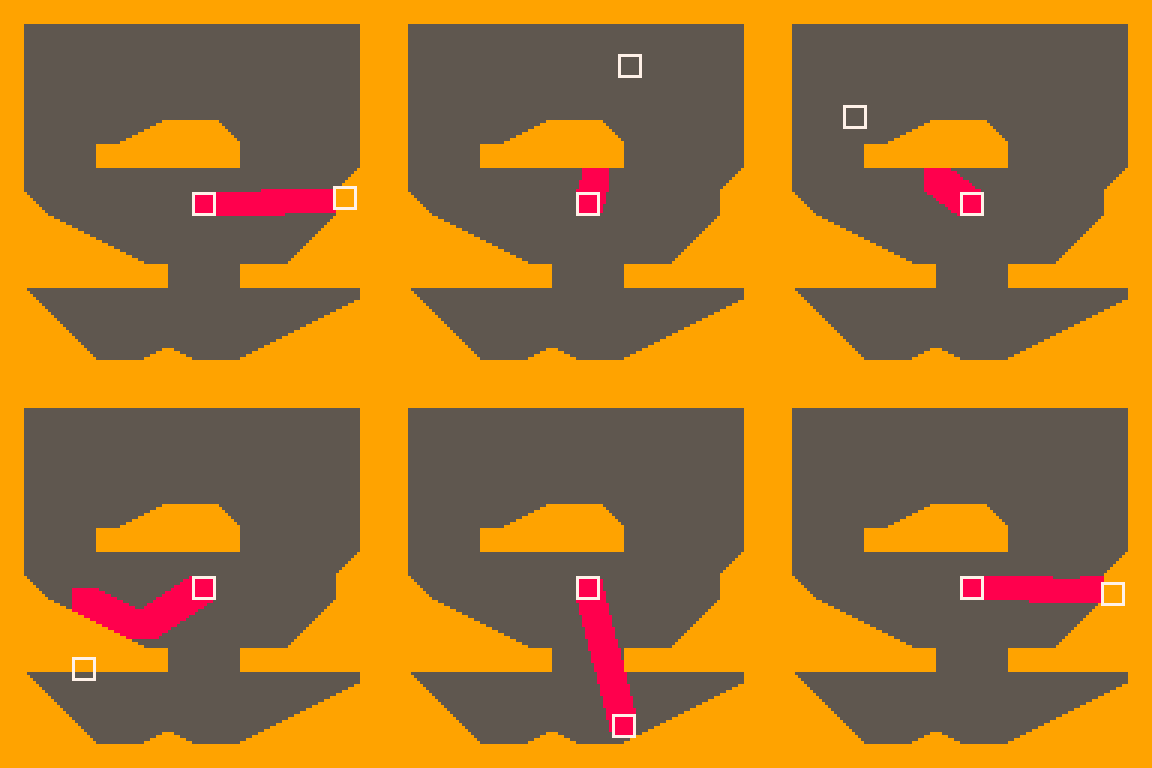
Moving on to the implementation of the demo. I knew that I wouldn’t use traditional ray casting that computes line-line intersections analytically, since I wanted to operate on individual pixels. So I decided to implement the Bresenham line drawing algorithm, except every time the original algorithm moves diagonally I instead move in each axis one step at time so that I only have to handle potential collisions in the cardinal directions. If I then stop the algorithm when detecting a pixel belonging to the level geometry, I’ve got something behaving very much like a ray cast, here’s what it looks like:

It’s worth noting that unlike an analytically solved ray cast, the runtime of which would be dependent on the number of level geometry primitives returned from some prior broad phase check, the runtime of the Bresenham algorithm scales with the length of the line. This length could easily grow large if we, say, cast a ray diagonally across a modern monitor. This won’t be an issue in practice however, especially on the PICO-8 with it’s 128x128 screen, since we’ll only be doing ray casts around a couple of pixels long that are proportional to the velocity of our player character.
With ray casting in place we would be able to implement a player with a 1x1 pixel bounding box, but that’s not very useful so we’ll replace the screen pixel sampling with a routine that instead reads an offset associated with each nearby tile and uses it to pretend that we’re sampling a special collision tile at that point instead.
To draw these collision tiles we need a basic understanding of Minkowski sums/differences. It’s helpful to view the orange-colored pixels defining our shapes not as points on the screen but rather as vectors stretching out from each shape’s origin (in the case of our collider and tiles this is the top-left corner of the 8x8 tile). By taking the set of vectors defining one of the shapes and adding all of them with each of the vectors defining the other shape we retrieve the Minkowski sum. Conversely, subtracting each pair of vectors will give us the Minkowski difference. For our tiles it’s sufficient to think of it as taking one of the shapes, mirroring it in both axes, and copy-pasting it at every pixel of the other. At this scale it’s practical to simply do this by hand.

If we imagine replacing all the 8x8 tiles in the level with their respective 16x16 Minkowski differences these new tiles would overlap with their neighbours to the left and above. Because of this we need to not only check the tile right below our sample point but also to the right and below (and the right+down diagonal) to see if the overlap from these tiles is solid at our position.
Once we have a sampling routine that works as if the screen was covered in these collision tiles, our ray casting turns into what is commonly referred to as shape casting. It’s a pretty big improvement for such a simple trick, considering that one naive way to replicate this would be 8x8 or 64 separate ray casts for each individual pixel of the player collider and we’re now doing it with the computational equivalent of just one.
There’s one last detail however, and that is the collision resolving. In the context of a 2D platformer we don’t want to make a full stop when for instance detecting a 45° slope. What we want is a set of rules that makes it so the player can walk up or down elevation changes that are exactly 1 pixel in height, and will stop at or fall off elevation changes that are ≥ 2 pixels in height. Since we’re already using Bresenham’s line algorithm to step through space one pixel at a time, this simply becomes a matter of hooking in to the algorithm’s loop and implementing the appriopriate rules.

What we have essentially is a routine that, given a pair of coordinates, will move as close as it can to the commanded x-coordinate subject to a bunch of constraints from the level geometry. With the addition of player logic and animations we reach the state of our final demo.
Walk with '←' and/or '→'
Jump with 'Z' (hold or tap to control height)
Slide/dash by pressing '↓ + Z' while on the ground
Wall jump by pressing 'Z' while airborne next to a wall
And that’s all for this post!
Source code for the demo is available at https://github.com/alehanni/pico8_demos